font-family: 'Italianno', cursive;
Showing posts with label recipes. Show all posts

Tuesday, July 28, 2009

Sticky Chicken

This is a super easy recipe that gives great results!

First, you need one of these...
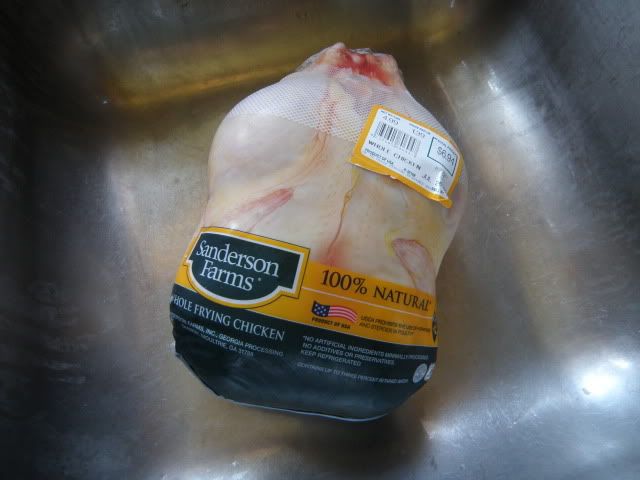


For this recipe I like to skin the chicken so the spices stick better. Lets face it....chicken skin in the crockpot isnt going to crisp anyhow. That would take the oven and its TOO hot for the oven.

To skin the chicken just peel the skin back like taking a coat off.. There is a ridge on the breast that wants to cling so use a knife right here
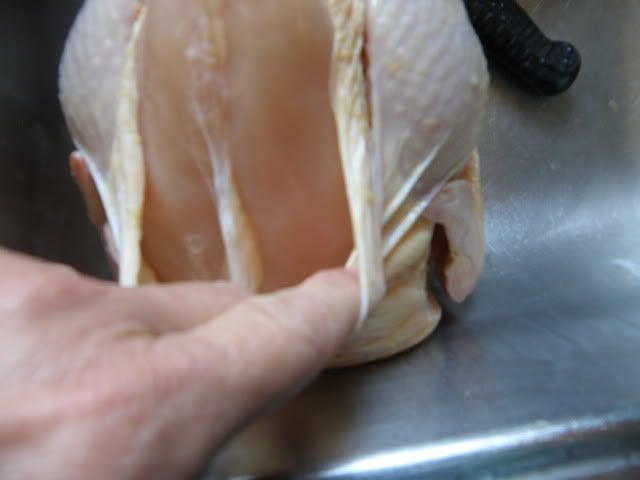


I dont bother to skin the wings - it's too difficult and time consuming.

Empty the bits out of the cavity and wash the skinned chicken. Stuff the empty cavity with whatever you like. I used celery and lemon and garlic.
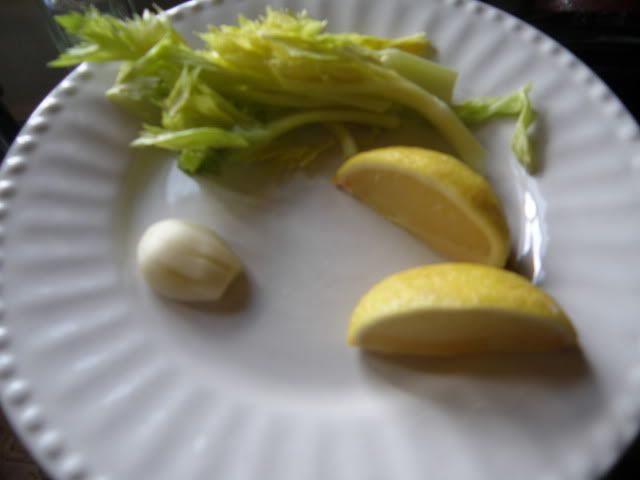


I put two sticks of celery in the crockpot to "sit" the chicken on so the bottom of the chicken doesnt get soggy and "stewed" in the long hours it will be in the crockpot. Cut your celery to fit your pot so it can lie flat. You want to use the outer ribs of celery because they are more substantial and can take the heat and retain their shape.
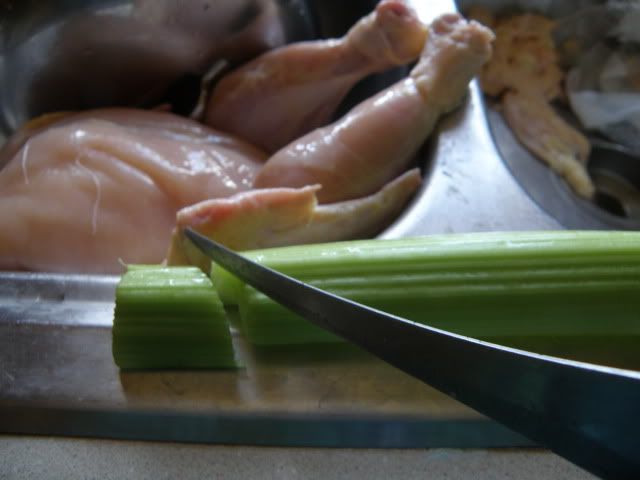


lay them outer side up in your crockpot...


next comes the yummy part! Make a rub for the chicken. It can be any spices you like.

Heres mine

Spice Rub:
1 tsp. each: pepper, onion salt, sage
2 tsp paprika
3 tsp regular salt (not shown in picture)

(I used the onion salt since I didnt have any raw onion to stuff in the cavity,otherwise I would use 4 tsp of regular salt.)
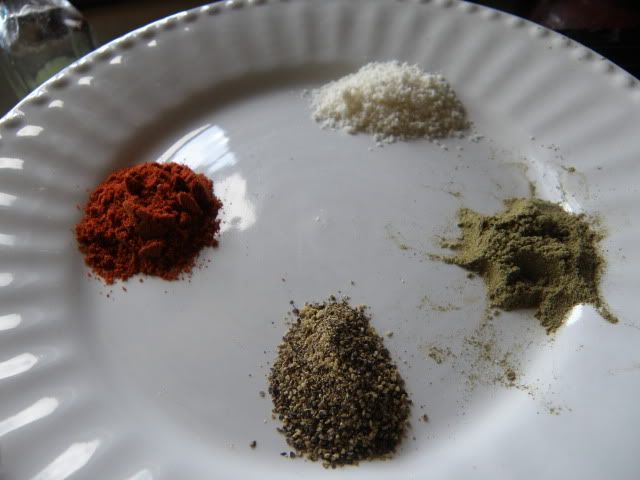


swirl the spices together...
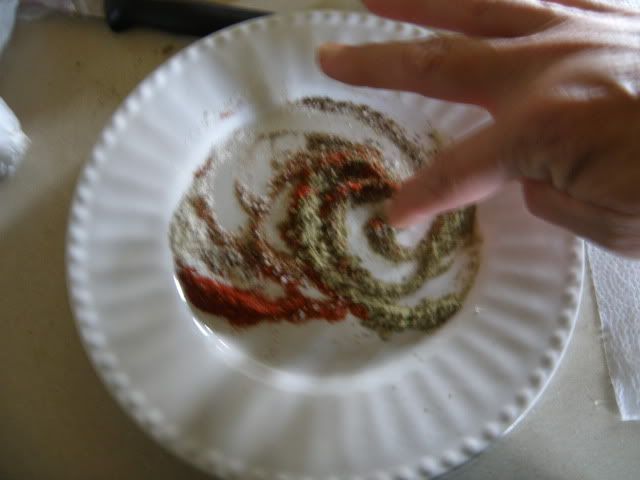


sprinkle on chicken (dont forget the drumsticks and wings)
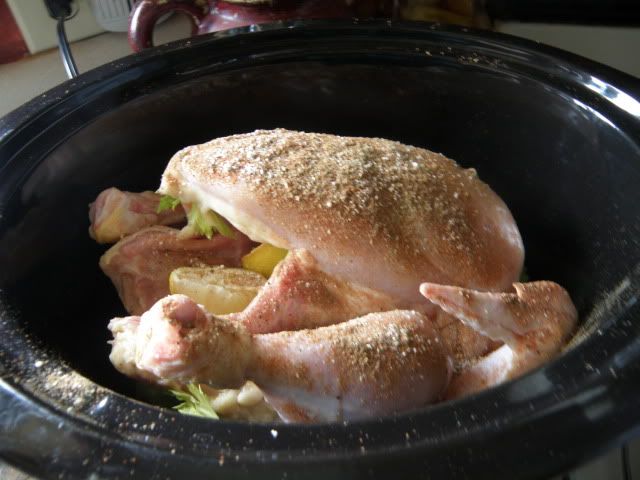


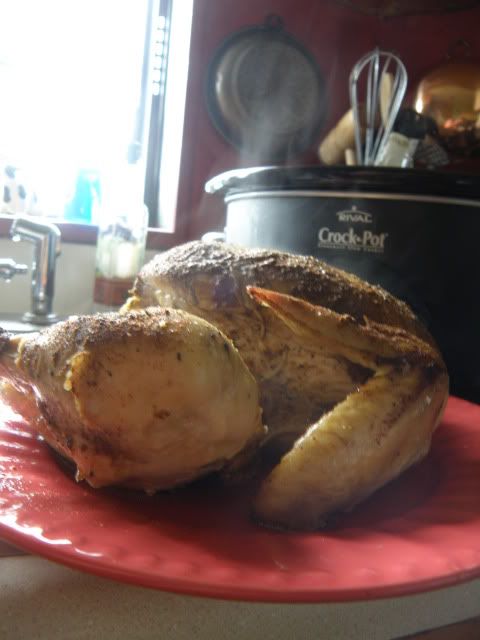
cook on high for 5 or 6 hours (or low for longer if you want) and you will get this. Notice the steam coming off the chicken? Im glad I caught that!


Serve over rice (I add two chicken boullion cubes to my rice while it cooks but its not necessary. If you decide to add boullion - skip the salt)

Pour drippings from pan into a cup and place in fridge for 1/2 hour or more. Skim off the top and place the rest in a saucepan. You will end up with about a cup to put in your sauce pan. Cook over medium high until it reduces to 1/2 cup. Add 2 TBSP of white wine and serve over the sticky chicken and the rice.
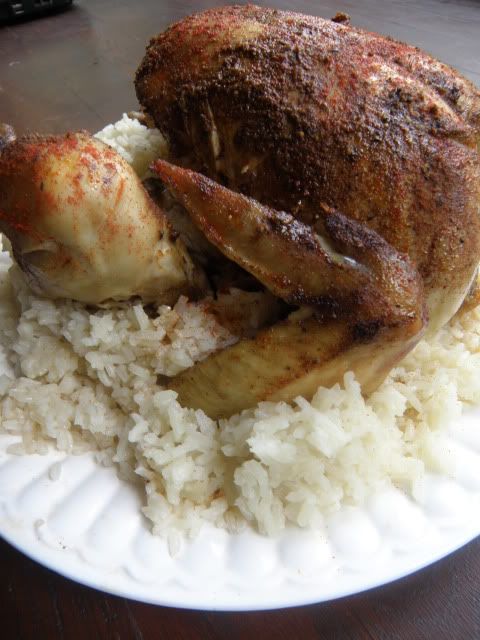


I'm adding a cold salad of cucumbers, tomatoes and onion mixed in a vinegar dressing and thats dinner!

I approximated the cost of this dinner (veggies from the garden - so didnt count them) to total about $8.00. If I had a big family to cook for I would have cooked some dried beans while the chicken was crockpotting and added biscuits or cornbread.

As kid, I remember there was never more than one chicken...no matter how many kids around the table. We just had more side dishes! I still like that way of thinking.


Wednesday, July 22, 2009

Grape Salad

I am a photographing freak these days!

It all started when a friend sent me a present in the mail.....


A BOOK ON PHOTOGRAPHY!!!

Now maybe she sent it to protect herself from getting queasy while looking at my blurry pictures......but I personally think she sent it because she is just a sweetheart! I mean, my pictures are not that blurry, right? RIGHT??? [chirp......chirp]

Since I got the book I am either

A) nose buried in the book

or

B) out practicing what I am learning in the book on some unsuspecting child or animal or fence post or in the case of yesterday.....some perfectly innocent grapes!

I had a luncheon to go to and I was supposed to be cooking for it.

Instead I was delving into how to make seamless backgrounds (pg 121)

and using direct indoor lighting (page 124)

I should have taken a picture of my kitchen but I didn't think to do that!

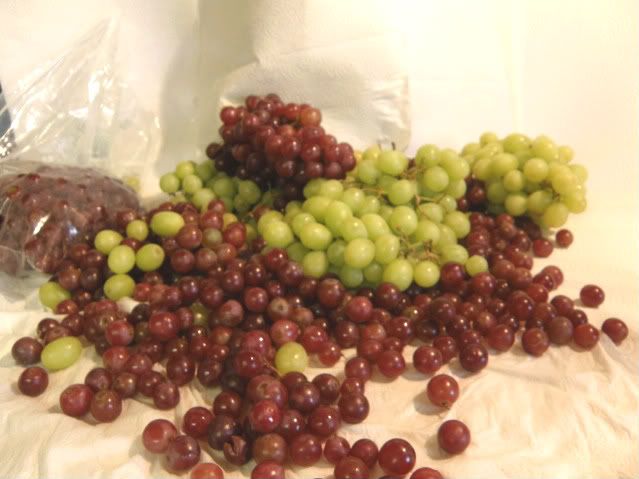
I had paper towels draped over my wine rack and taped to my upper cabinets. Between all that draping and all those lush grapes I felt like Cleopatra in her boudoir!

But it was really just me, Indie, photo freak extraordinaire in her kitchen with ninety seven hundred loose grapes all rollin around....


Why, you can hardly tell those are paper towels at ALL!

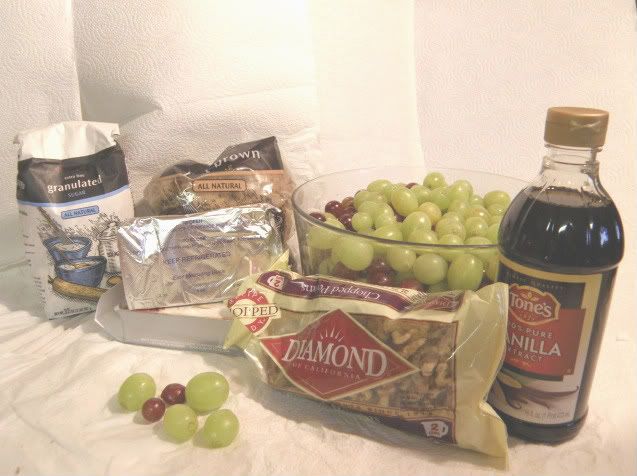
Next I shot my "ingredients" for the recipe...


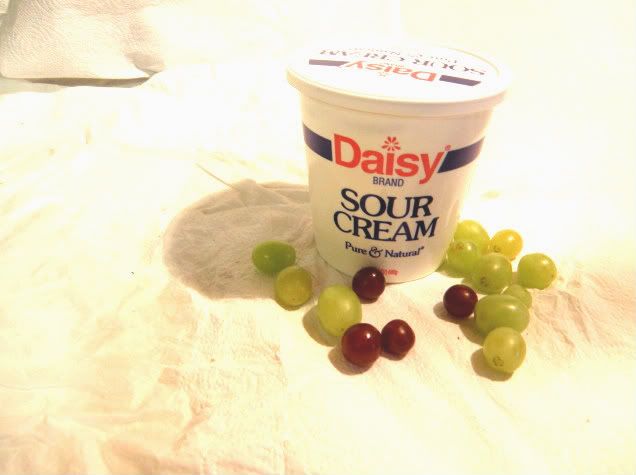
oops! Forgot the sour cream...I would be better off forgetting the grapes than the sour cream, am I right?


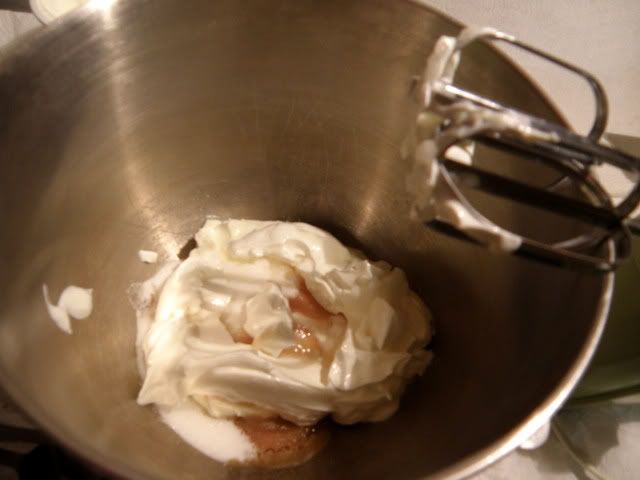
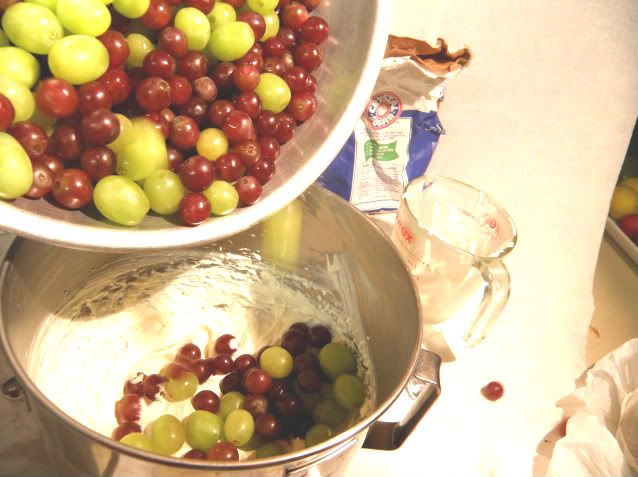
I politely asked the cream cheese, vanilla extract and sour cream to hop into a bowl with 1/3 cup of sugar, which they did...


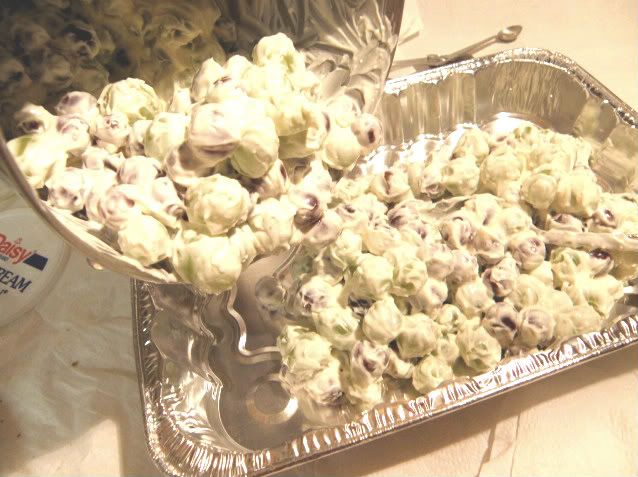
I love it when food does as I ask! So I blended that all up well together. When I read that I was supposed to add 10 cups of grapes to that little bit of mixture in my bowl I thought that had to be wrong...it didnt look like enough! Or too many grapes maybe....


Turns out it is just the right amount for a creamy balance...


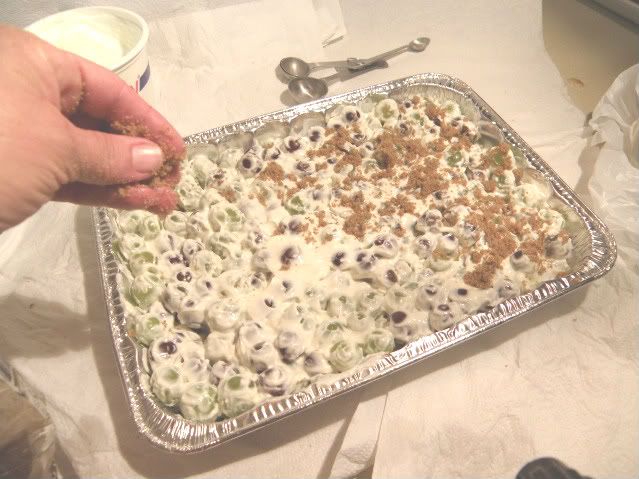
next I topped it with a light sprinkling of brown sugar


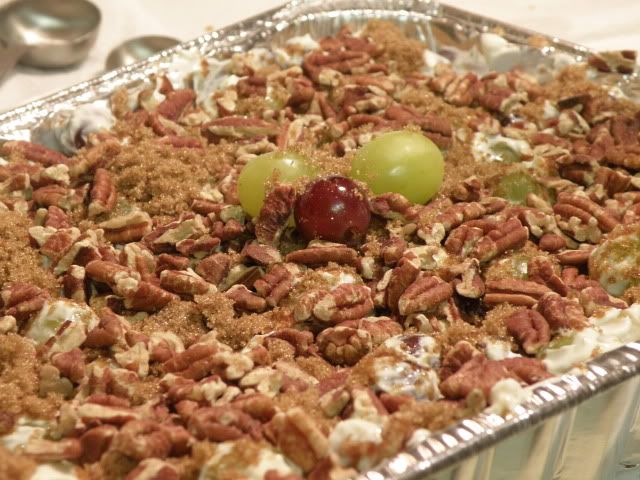
and toasted, chopped pecans...


It turns out looking like this but then.....you pop it in the fridge over night so the cream can interact with the brown sugar, creating a caramelizing effect.


Over coffee the next morning before the luncheon, I read in my new photography book about outdoor photography.... (page 126) and of course I had to try it!


Wonderful taste...very light and cold and creamy and the grapes hold up really well. The toasted pecans add just the right crunch and the caramelizing concept worked!

Recipe

8 ounces Cream Cheese (Softened)
8 ounces Sour Cream
1 teaspoon Vanilla Extract
⅓ cups Granulated Sugar
10 cups Red And/or Green Grapes
½ cups Packed Brown Sugar
½ cups Finely Chopped Nuts (if Desired)

Preparation Instructions
Mix cream cheese, sour cream, granulated sugar and vanilla well with an electric mixer in a large bowl. Fold in grapes into this mixture. Put into a 9×13 dish. Mix brown sugar and nuts together and sprinkle over grape mixture. Chill.

Tuesday, June 23, 2009

Blackberry Cobbler

The little munchkin's (grand kids) have been here on the farm for the weekend. There has been a lot of swimming and a whole lot of playing with the new puppy and we had the best of intentions to go blackberry picking.....

really we did.....

Somehow it just seemed to hot, or there was something more fun to do and it got put off.

So it is a good thing that Sunday was midsummer's longest day of the year because guess what we did at 8:30 at night?

That's right!

We scurried from patch to patch of blackberries. "Agent B" (my grandson) who is six, manned the wheel of the golf cart, while the two girls and I jumped off and picked what we could see in the rapidly dwindling light and then we hopped back on the golf cart and raced off to the next little stand of bushes, to pick what might be lurking there. Soon we had enough to eat a handful each and to insure a good cobbler for breakfast.

So while all was still and peaceful this morning, I made the cobbler.

There is really nothing hard about a cobbler - you just sort of cobble it all together. Lots of juicy sweet berries and just enough batter to hold it all together.

The hard part for me, is holding a camera with my left hand while stirring with my right. Requires steady nerves for 7:30 in the morning I tell ya~

Some of the pictures are a bit blurry and out of focus but I will get better with practice!

Maybe?

Adjust your 3 -D glasses and here we go....

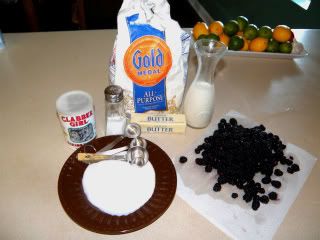
What we will be using:
more or less)


I say more or less, because if I were making this recipe for more sophisticated palates i.e.; adults, I would stir a tad of cinnamon into the berries and some vanilla flavoring into the batter. Since I am dealing with little "purists" who are young enough to still be suspicious of lots of flavor, I am keeping this as simplistic as a Beatrix Potter story - so they will enjoy it.

To begin, we will melt 1 stick of butter...


then add 1 cup of sugar (the white stuff on the plate in the first picture...I had measured it out and forgot to put the actual bag of sugar in the picture) to the warm butter.

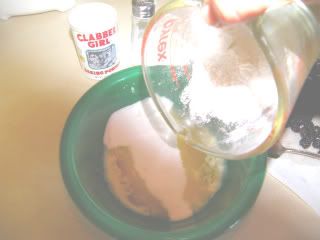
To the butter and sugar, add 1 cup of flour - see how easy this is?


you can stir a little - or wait - its that easy!

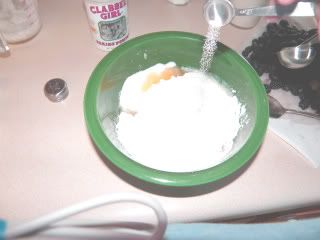
next add 1 TBSP. Baking powder and 1/4 tsp. of salt


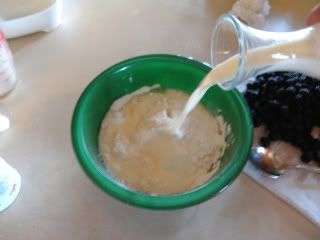
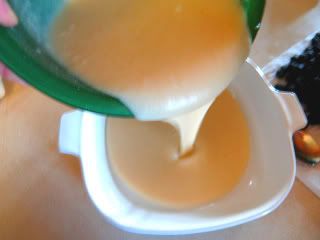
that's all of our dry ingredients, now we add our 1 cup of milk.

at this point I had one munchkin, show up to help...

"Agent B" in Batman pajamas buttered the dish we will be baking in...


sorry for the blur - he's that fast - really.

Now...its time to blend! A whisk is perfect or you can use a fork - this is an easy mix


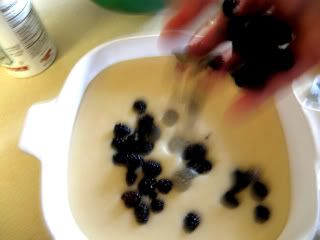
Now that your batter is in the pan specially greased with butter by Batman (or you) we are ready to add the stars of our production....the berries!


You want to sprinkle the berries equally all over the top of the batter. You dont need to press them down or stir them in. The batter will rise up over the berries as it bakes. Bake at 350 one hour more or less or until a knife inserted in the center comes out clean. I like to sprinkle more sugar over the top the minute it comes out of the oven. The sugar will melt from the heat and leaves a nice shine.